It’s almost Thanksgiving, and what better time is there to make a last minute fall centerpiece for your dining room table? Ok, I may have made this several months ago. I just never got around to posting about it. But maybe you need some last minute inspiration. If so, this project is perfect for you because it is super quick and easy, and a lot cheaper than buying an expensive bread bowl centerpiece.
The few changes I made to this wooden tray have a huge impact with very minimal effort. The most time consuming part was just waiting for the wood stain to dry, but you could also use a thin coat of spray paint or even acrylic paint if you are in a hurry.
What you’ll need
wooden tray
wood stain
glue sticks and hot glue gun (not pictured)
drawer handles
wooden accents for the sides
things to fill the tray
(optional) paint for pumpkins
(optional) fabric or greenery as a base
Pretty much everything you see in this picture I found at Hobby Lobby. The wooden tray was in the wood craft section in the back, and was much cheaper than buying a “finished” wooden tray (which is what I was originally looking for). I didn’t like the handles it came with, so I bought new ones. Also in the wood craft section I found vintage looking wooden swirly things and a pack of little wooden letters to add to the sides of the tray. I already had some wood stain, so all that was left were things to put inside the tray. I used the green fabric to line the inside of the tray. I wanted to use actual greenery, but I have cats who would definitely eat it, so fabric was my solution.
Step 1: Stain all the wood
First remove the handles, and then stain the entire wood tray. Also stain any wooden accents you want to put on the side. I did this with the small pieces by just dipping them in the can of stain. Let everything fully dry before you proceed.
Step 2: Glue it all together!
I started by gluing the letters to the swirly piece, and then when that was dry, gluing the whole thing to the side of the tray. There is one on each of the long sides of my tray. Then I glued the new handles to the ends of my tray. The holes didn’t quite line up, so I couldn’t re-use the screws it came with. The new handles covered the old holes though, so it’s not noticeable.
Step 3: Prepare things to fill the tray
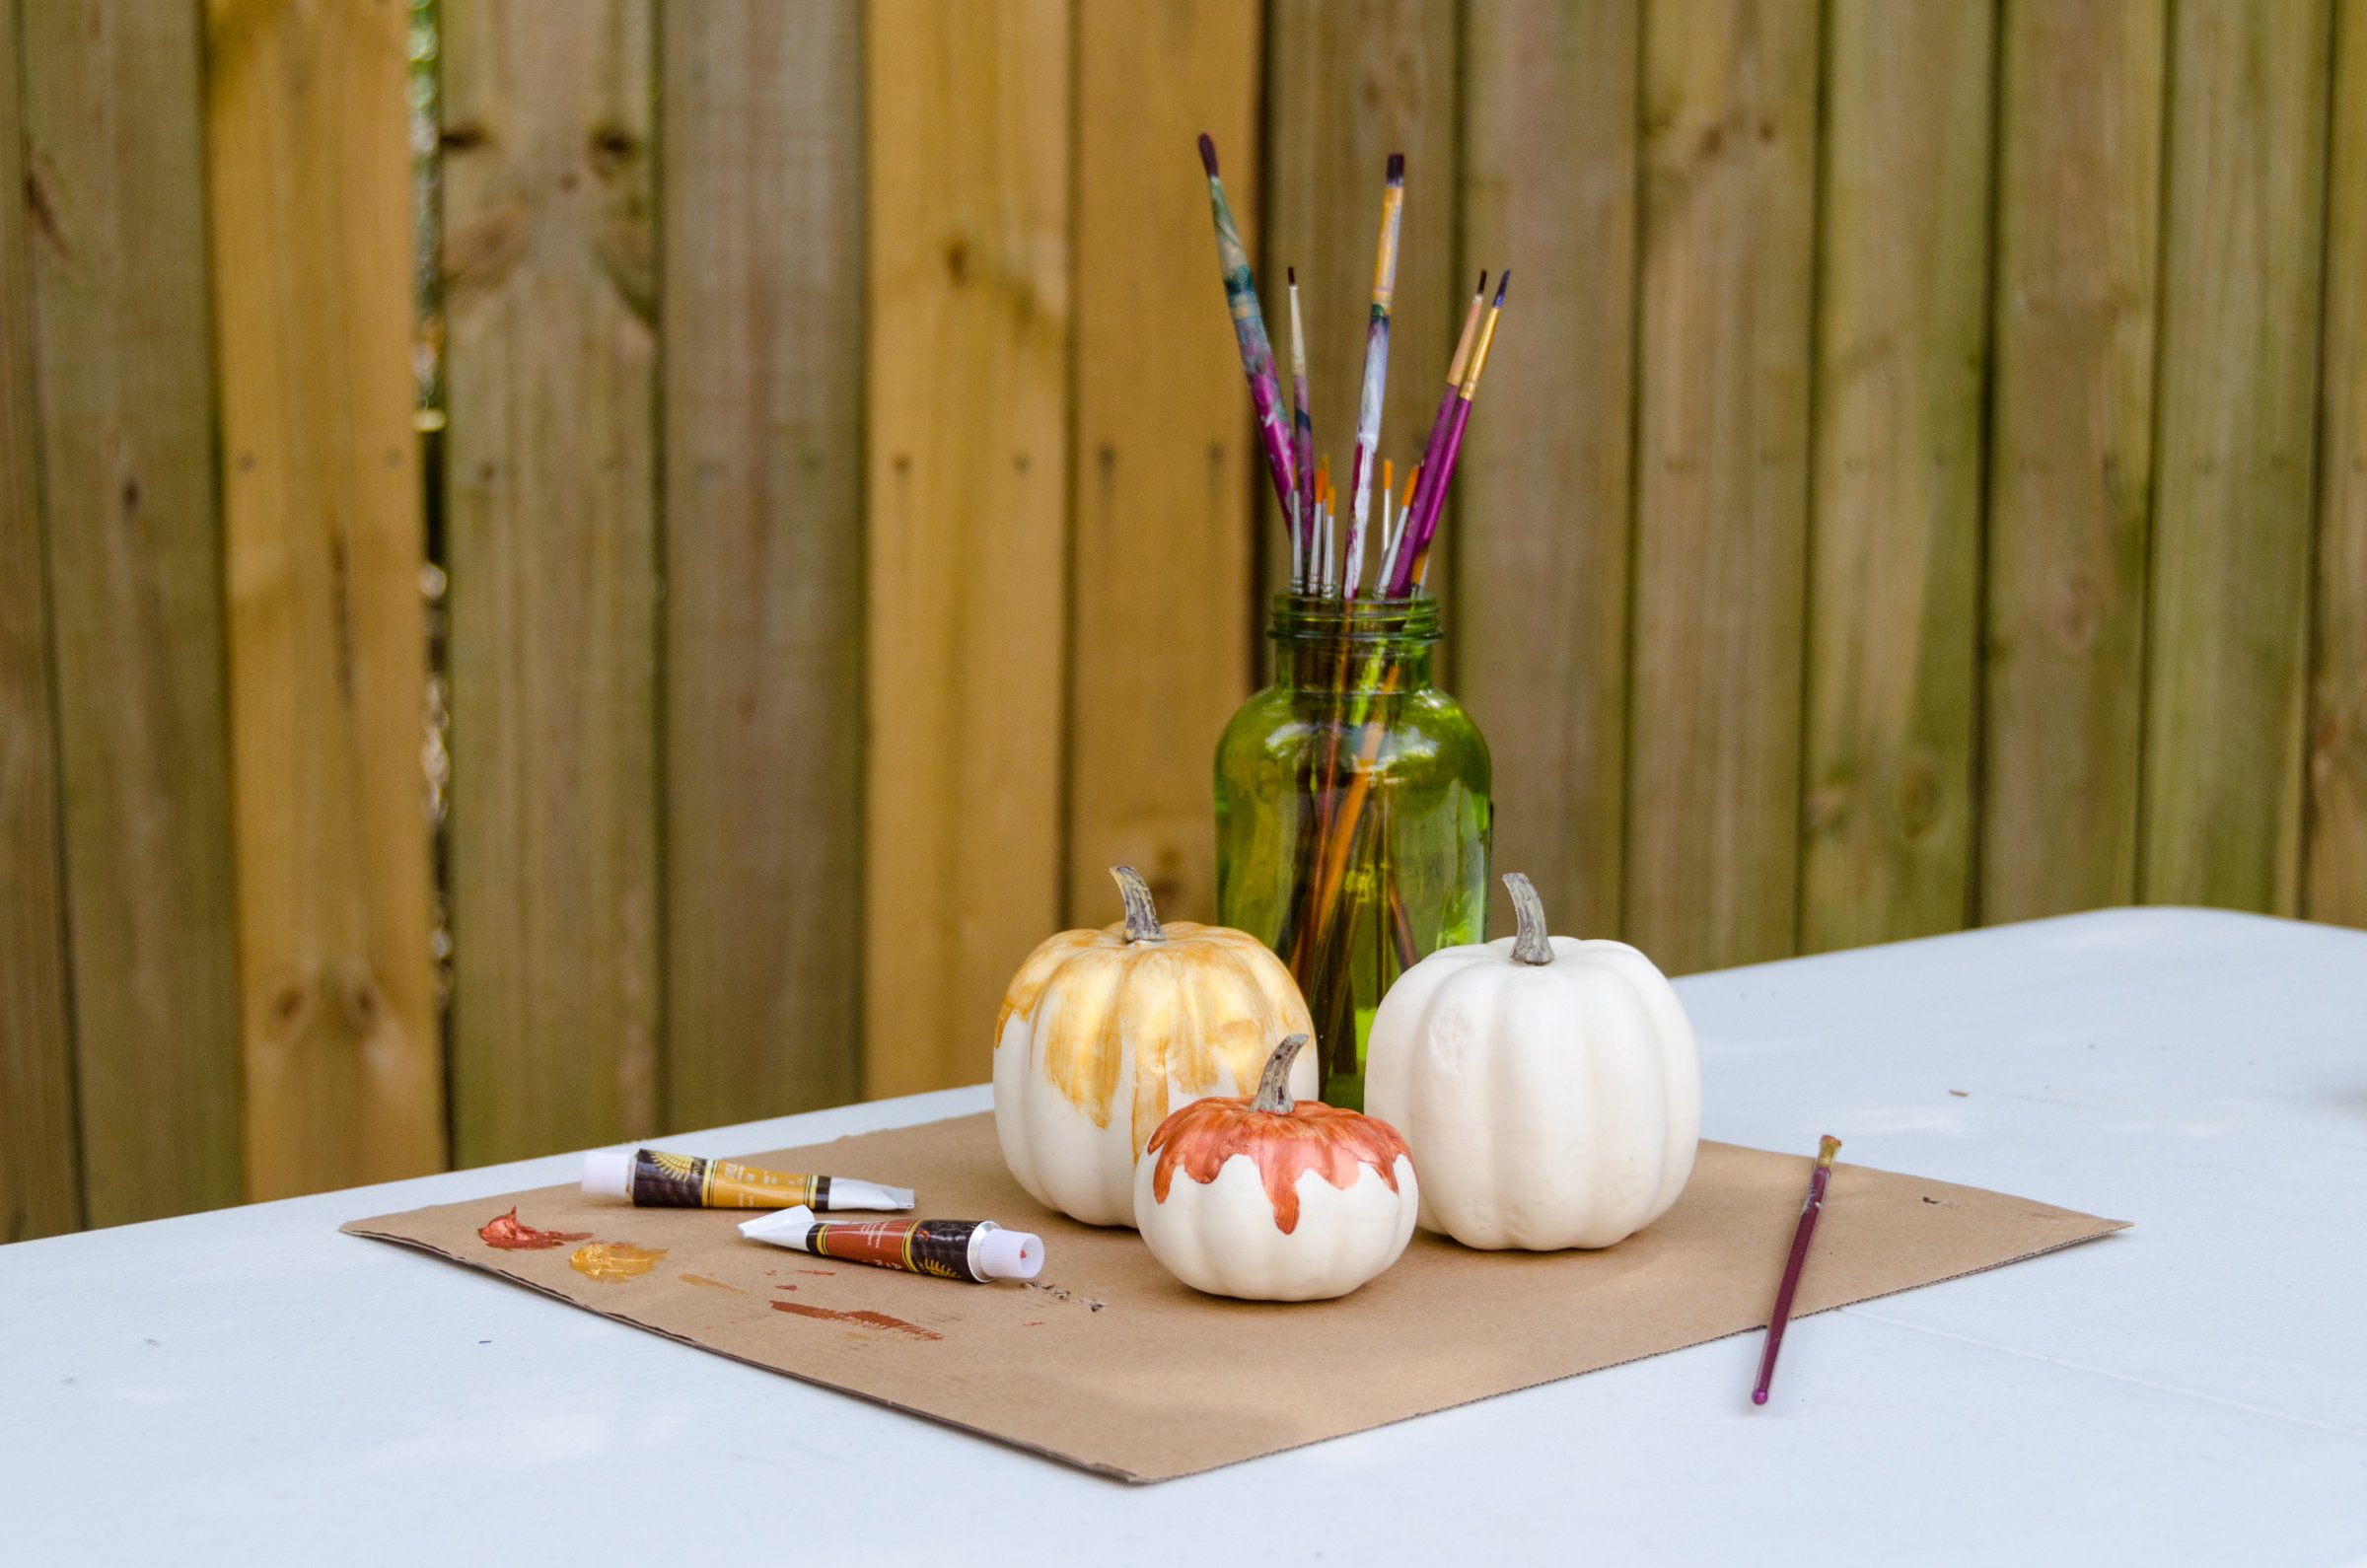
This step can be as easy or as complex as you want it to be. You can make cute little fabric pumpkins from scratch if you want to. For this project, most of what I used was already done. I just decided to paint a couple of my white pumpkins with metallic gold and copper to match the acorns and pine cones that I bought.
Step 4: Put it all together!
That’s all there is to it! I stuck some candles in the bottom of the tray, and then filled it with my pumpkins and things. The green fabric can barely be seen from certain angles, but I’m still glad I used it as a filler. I’m really happy with how this turned out, and the fact that so far the cats have left it alone. The best part is that I can just take out the pumpkins, acorns, and pine cones and fill it with whatever I want for each season and holiday. I hope you liked this project! Be sure to leave a comment and let me know what you think!


