
How to Frame a Canvas Painting at Home: A Step‑by‑Step Guide
Framing a canvas painting doesn’t have to be intimidating. Whether you’re an artist preparing your work for display or a collector wanting to elevate a piece you love, you can absolutely frame a canvas at home with just a few simple tools.
how to frame a canvas
Below, I’ll walk you through the two most common types of canvas frames and exactly how to install each one.
🎨 Types of Frames for Canvas Paintings
Before we dive into the how‑to, let’s quickly look at the two main types of frames you’ll encounter.
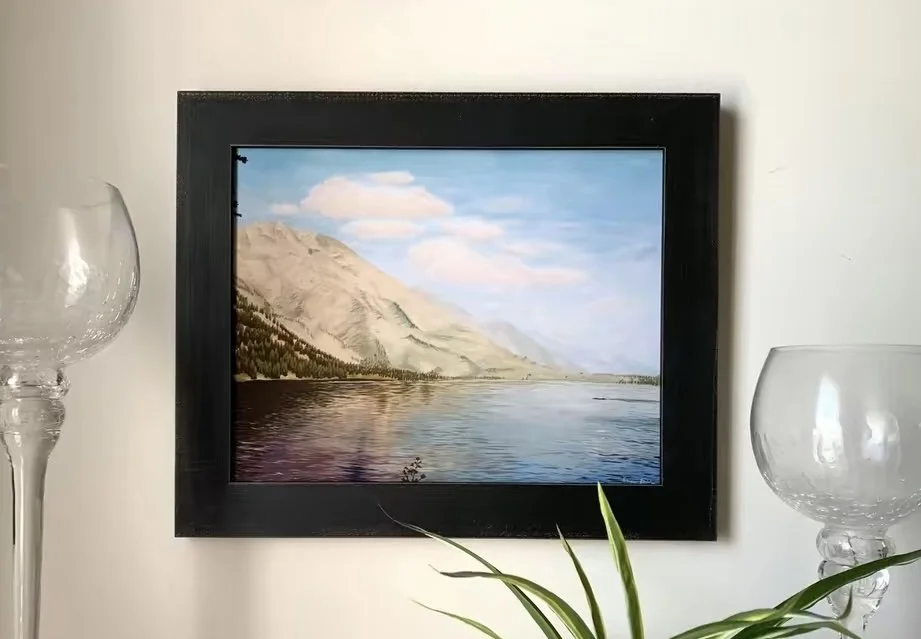
1. Open‑Back Frames
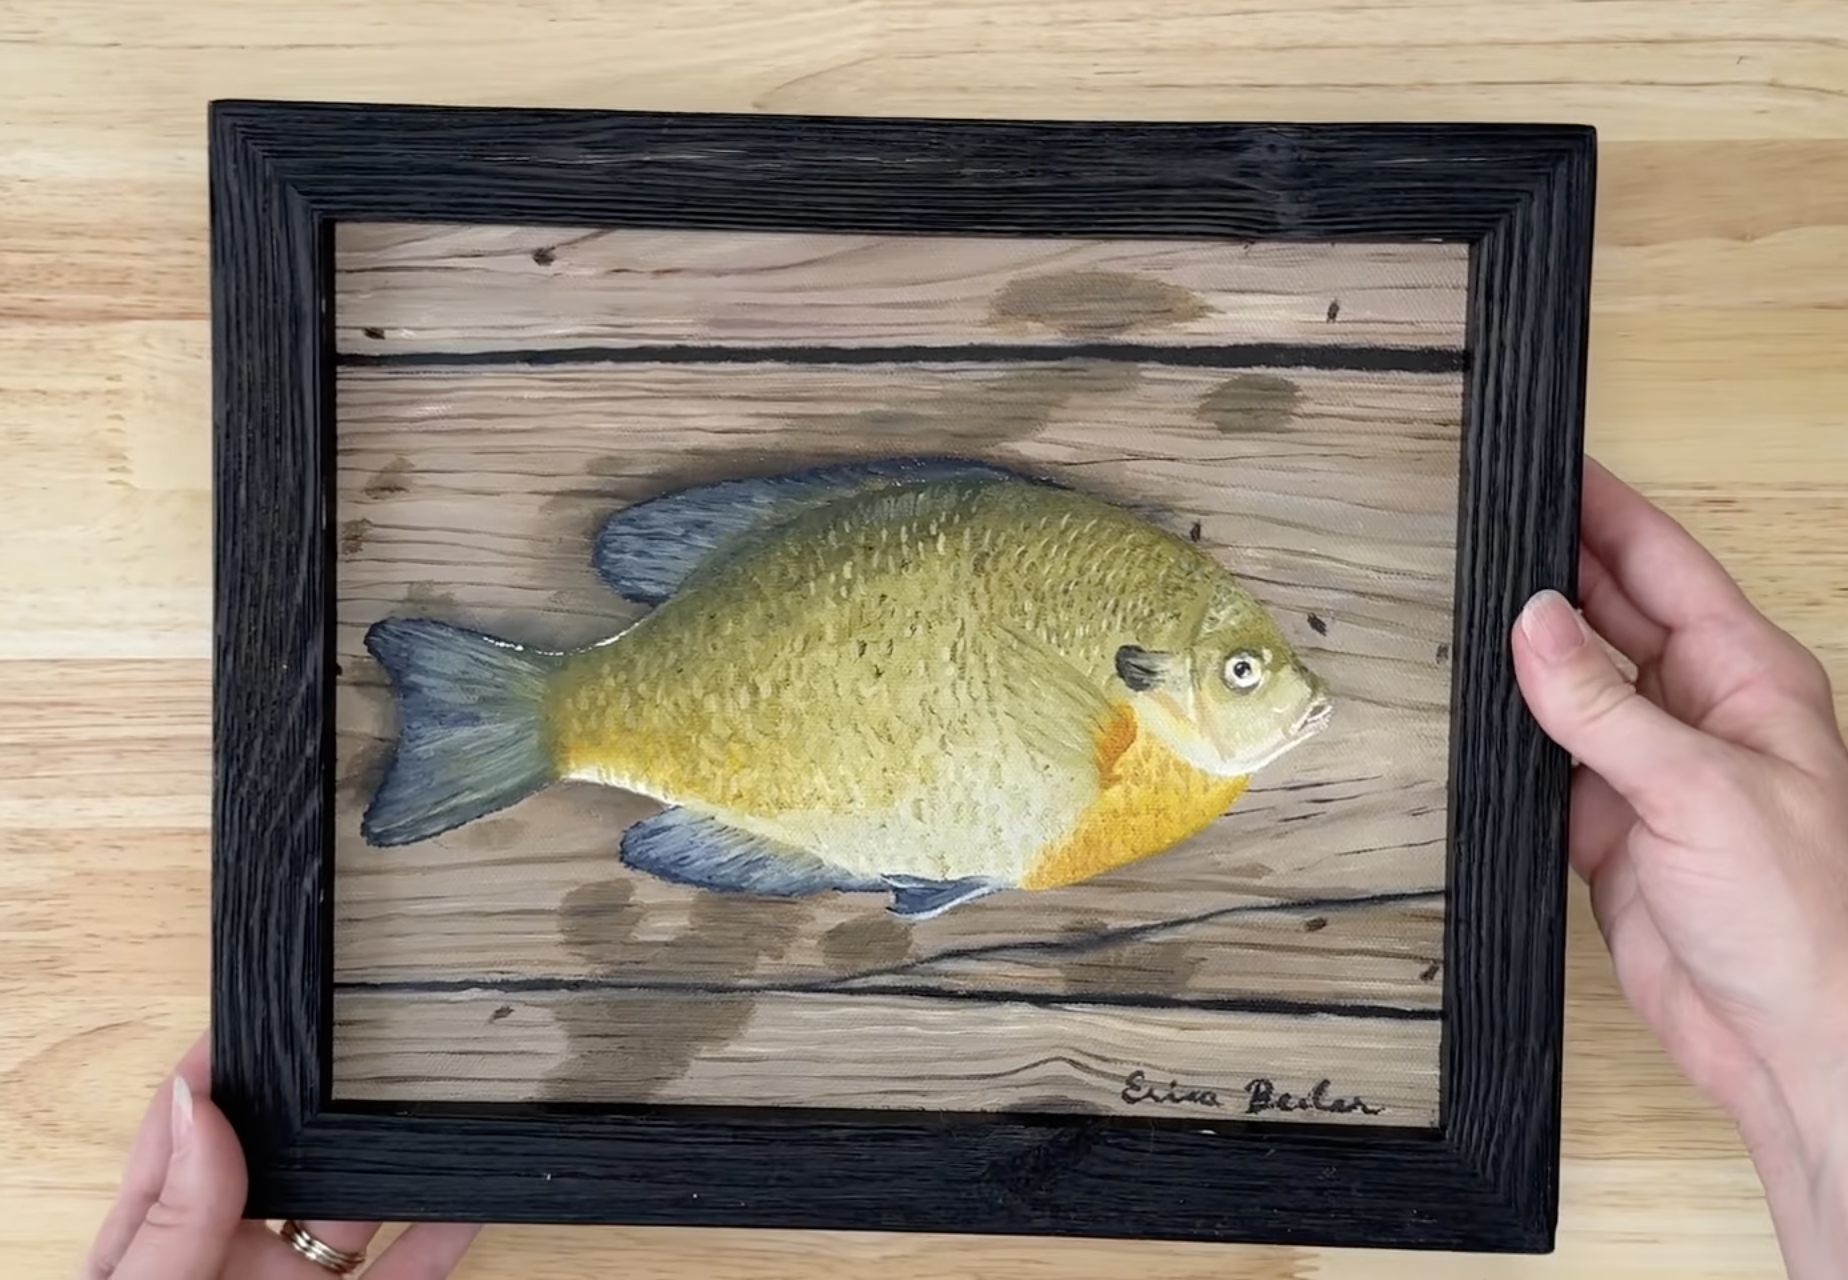
As the name suggests, the back of this frame is completely open. The canvas sits inside the back of the frame, and the frame slightly overlaps the front edges of the canvas.
This is a great option if:
The edges of your canvas aren’t finished
You want a traditional framed look
You prefer the painting to sit inside the frame rather than float
2. Floater Frames
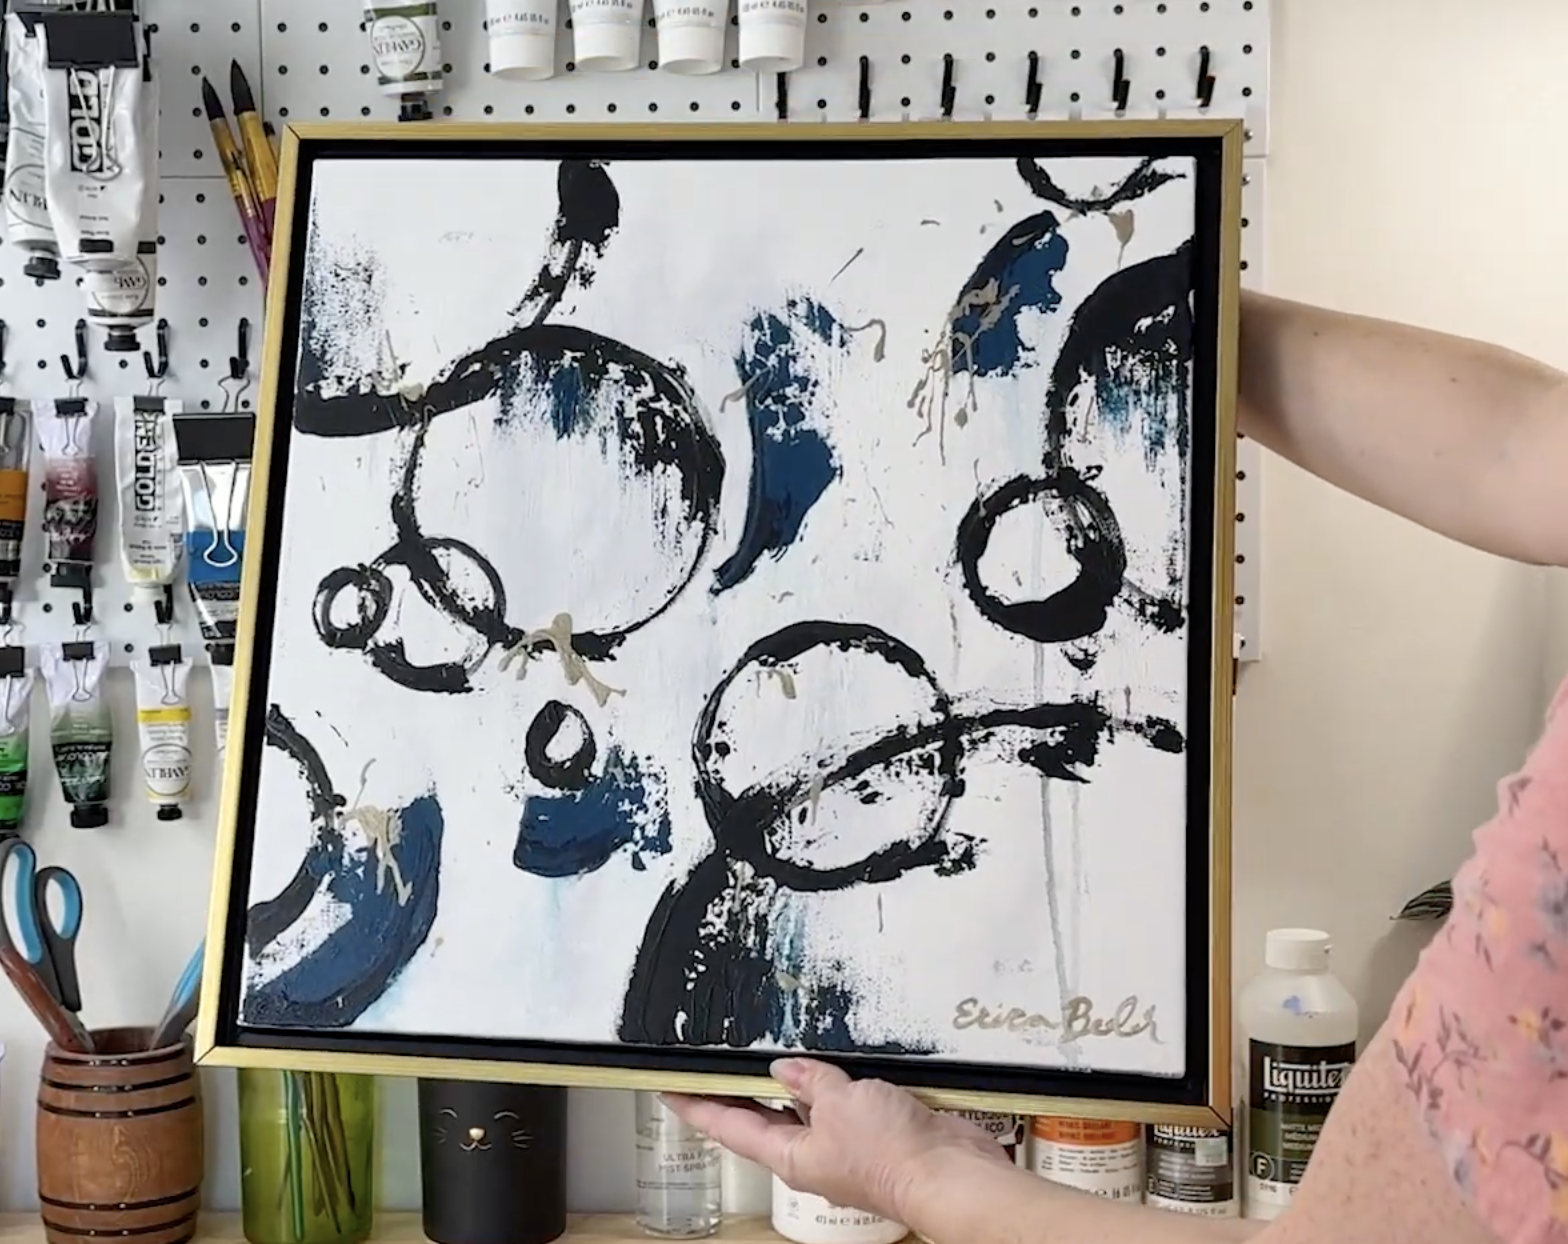
Floater frames create a modern, gallery‑style look. The canvas sits in the front of the frame, leaving a small gap between the canvas and the frame edges. This makes the artwork appear as if it’s floating — hence the name.
Floater frames are a great option if:
You want a clean, contemporary, gallery‑style presentation
Your canvas edges are painted and you want them to remain visible
You prefer a frame that enhances the artwork without overlapping it
🛠️ How to Frame a Canvas Using an Open‑Back Frame
What You’ll Need
Open‑back frame
Offset clips (linked below)
Screws (usually included with the clips)
Screwdriver or drill
Measuring tape
Here is what the offset clips look like:
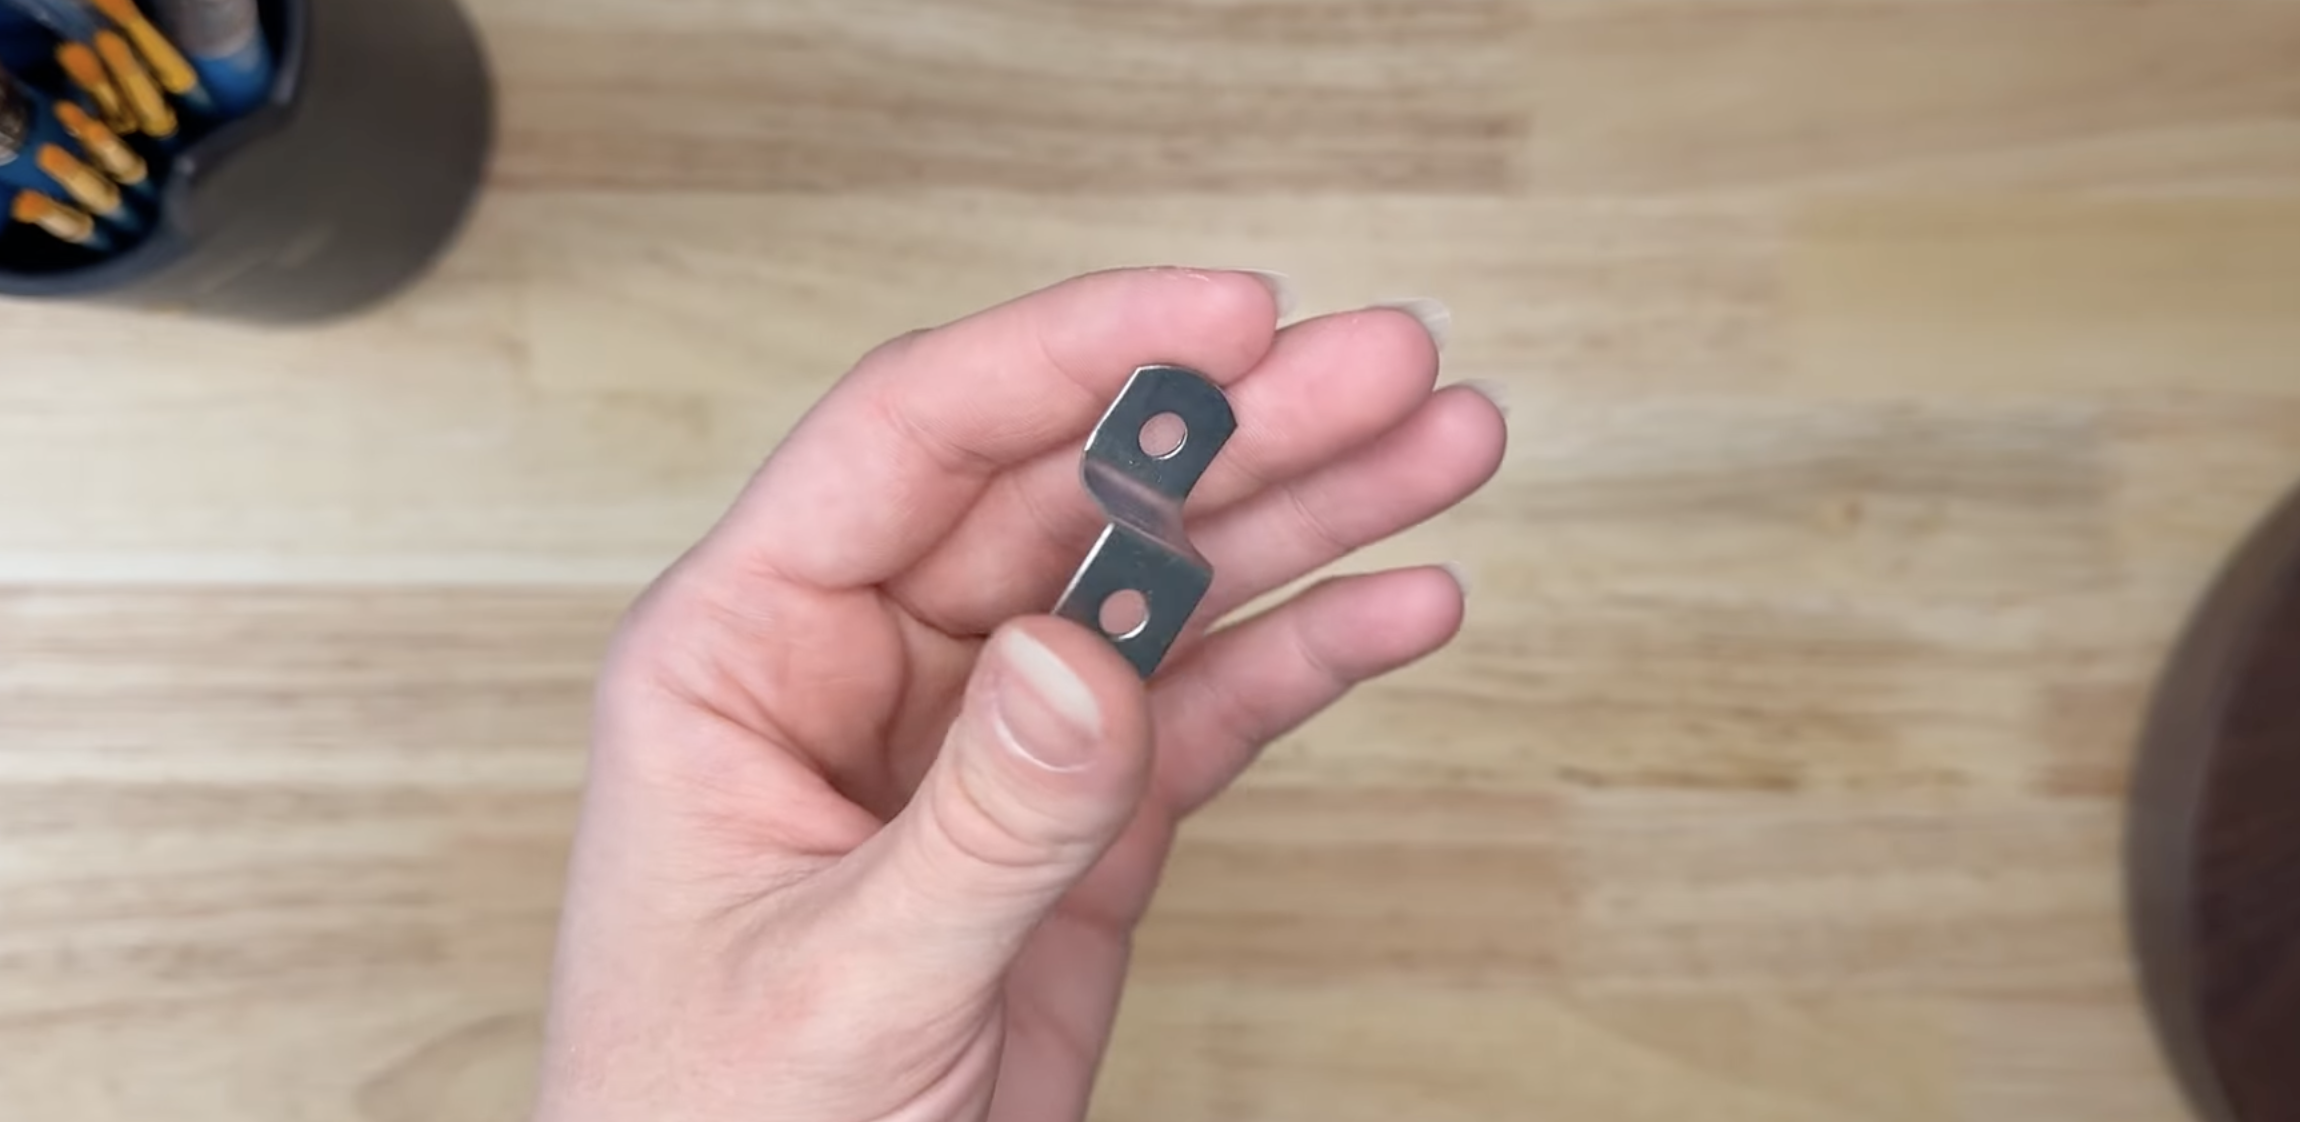
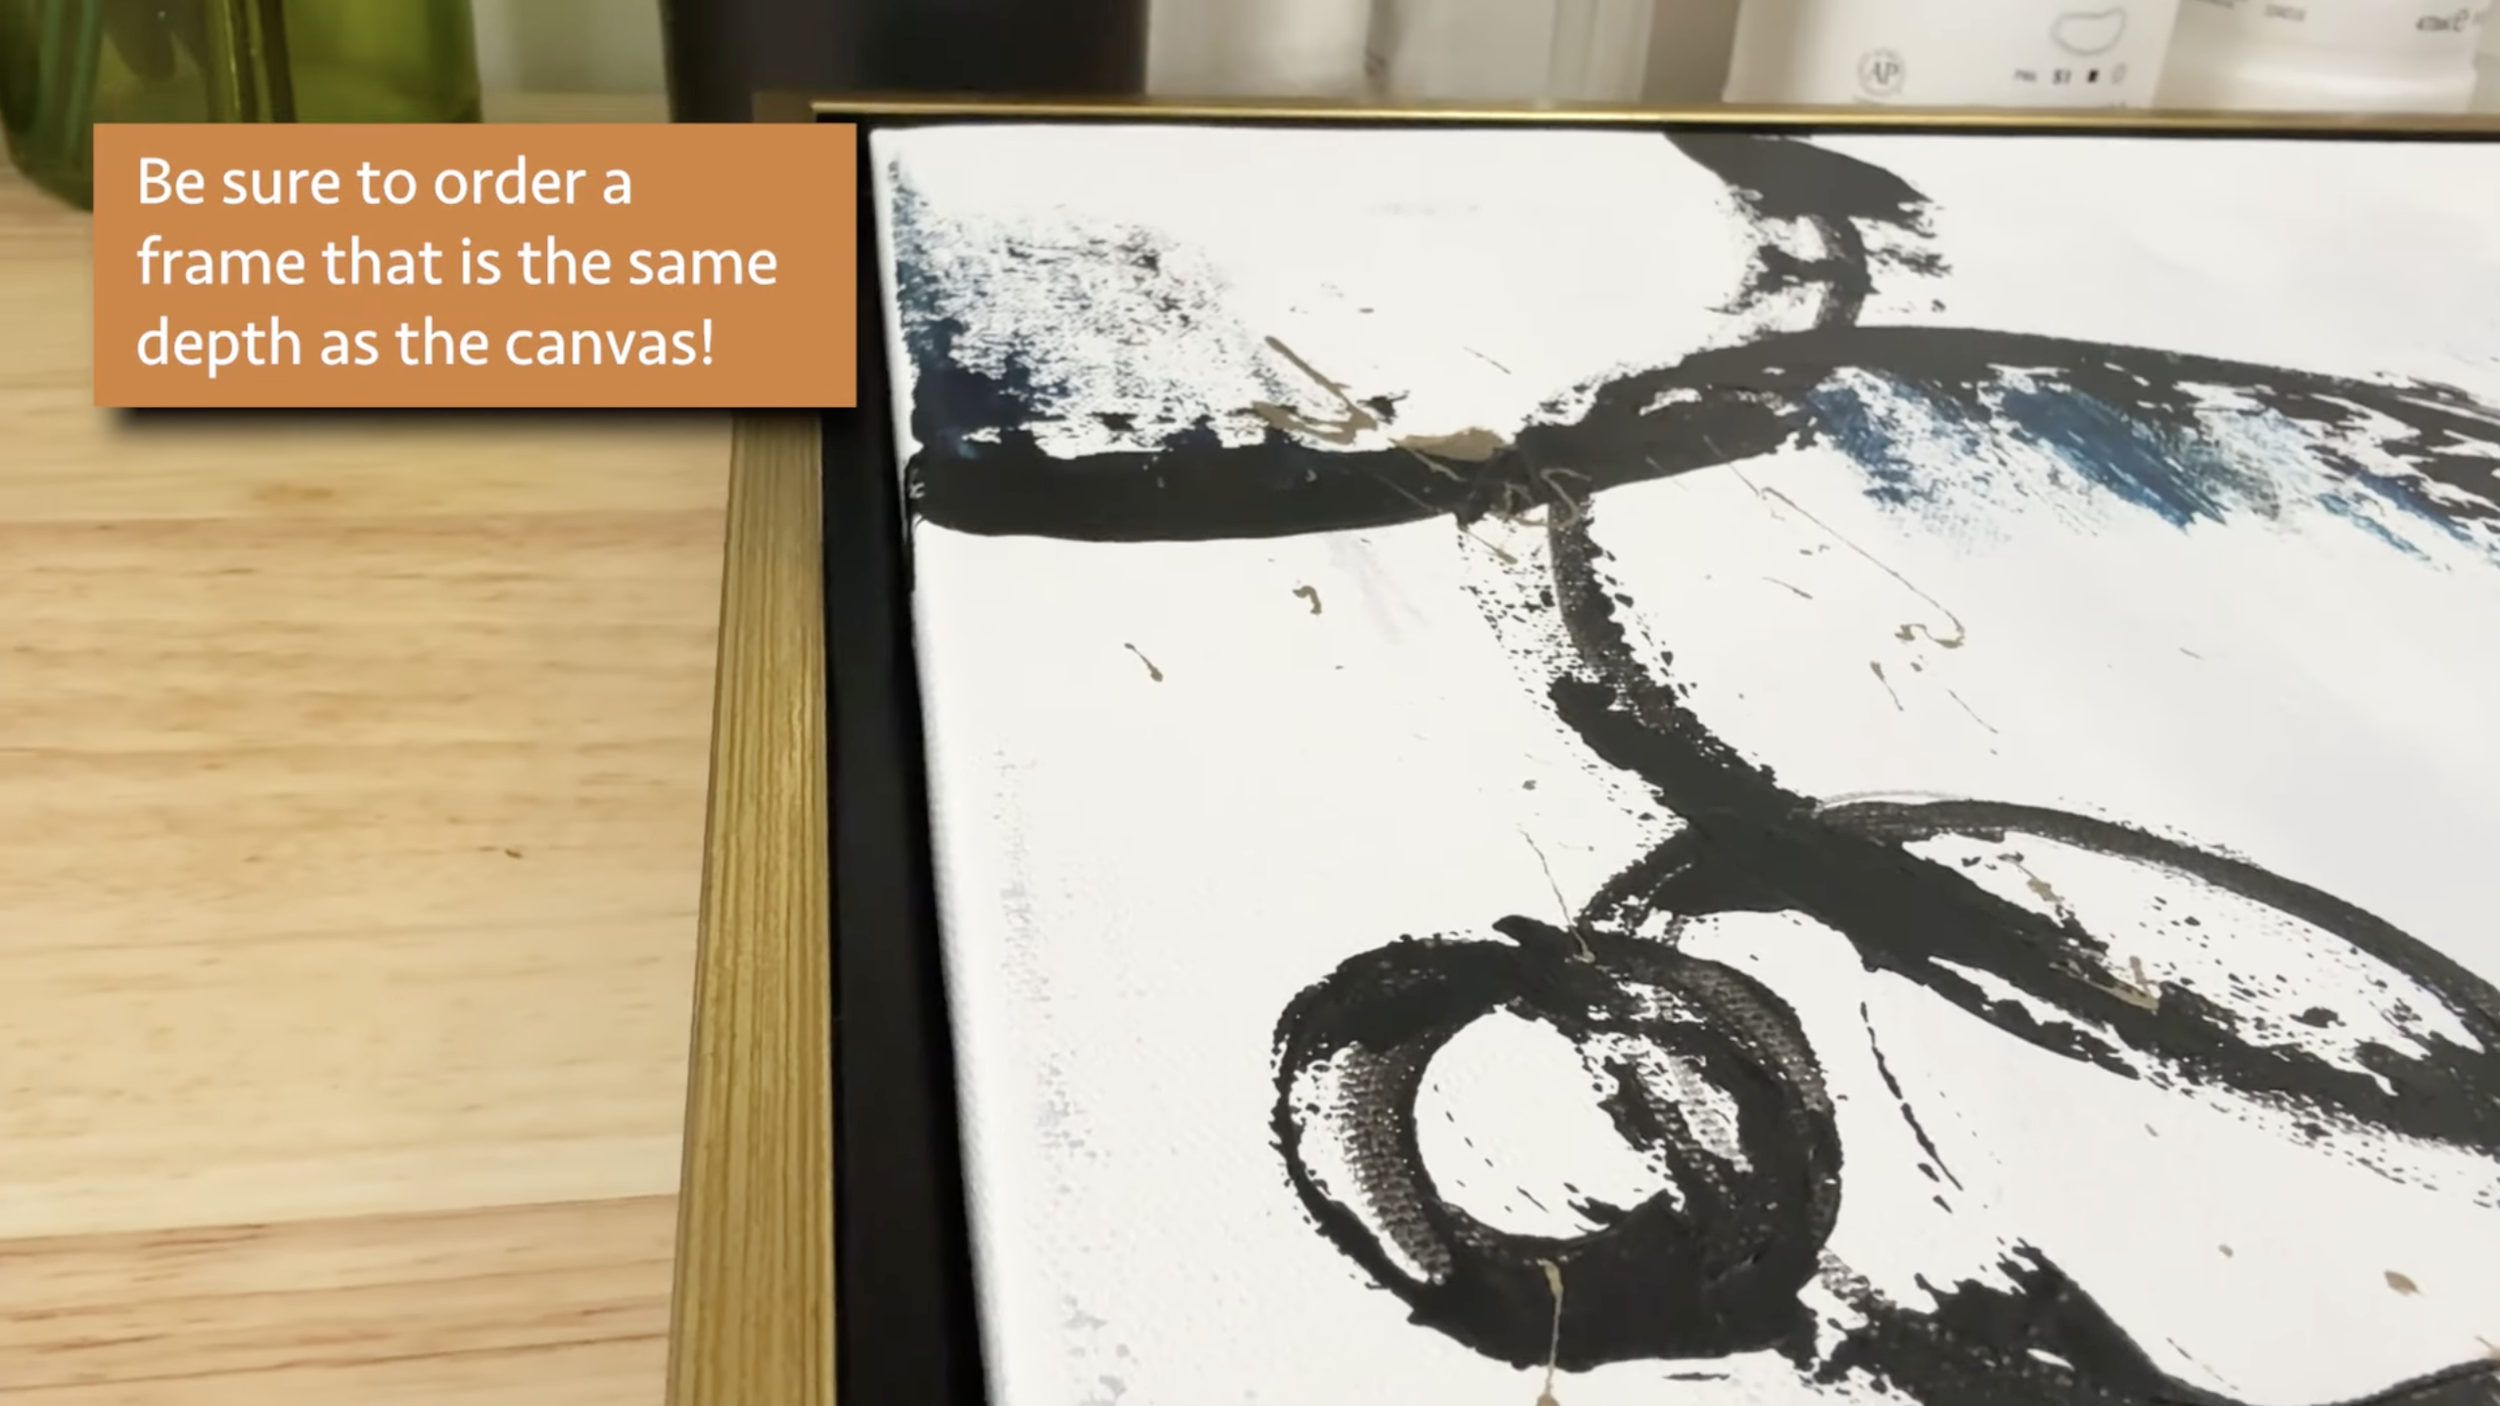
Step 1: Measure for the Correct Clips
Measure:
The depth of your canvas
The depth of the inside of your frame
The difference between these two measurements tells you what size offset clip you need.
Step 2: Place the Canvas in the Frame
Set your canvas into the back of the frame. Make sure it’s sitting evenly.
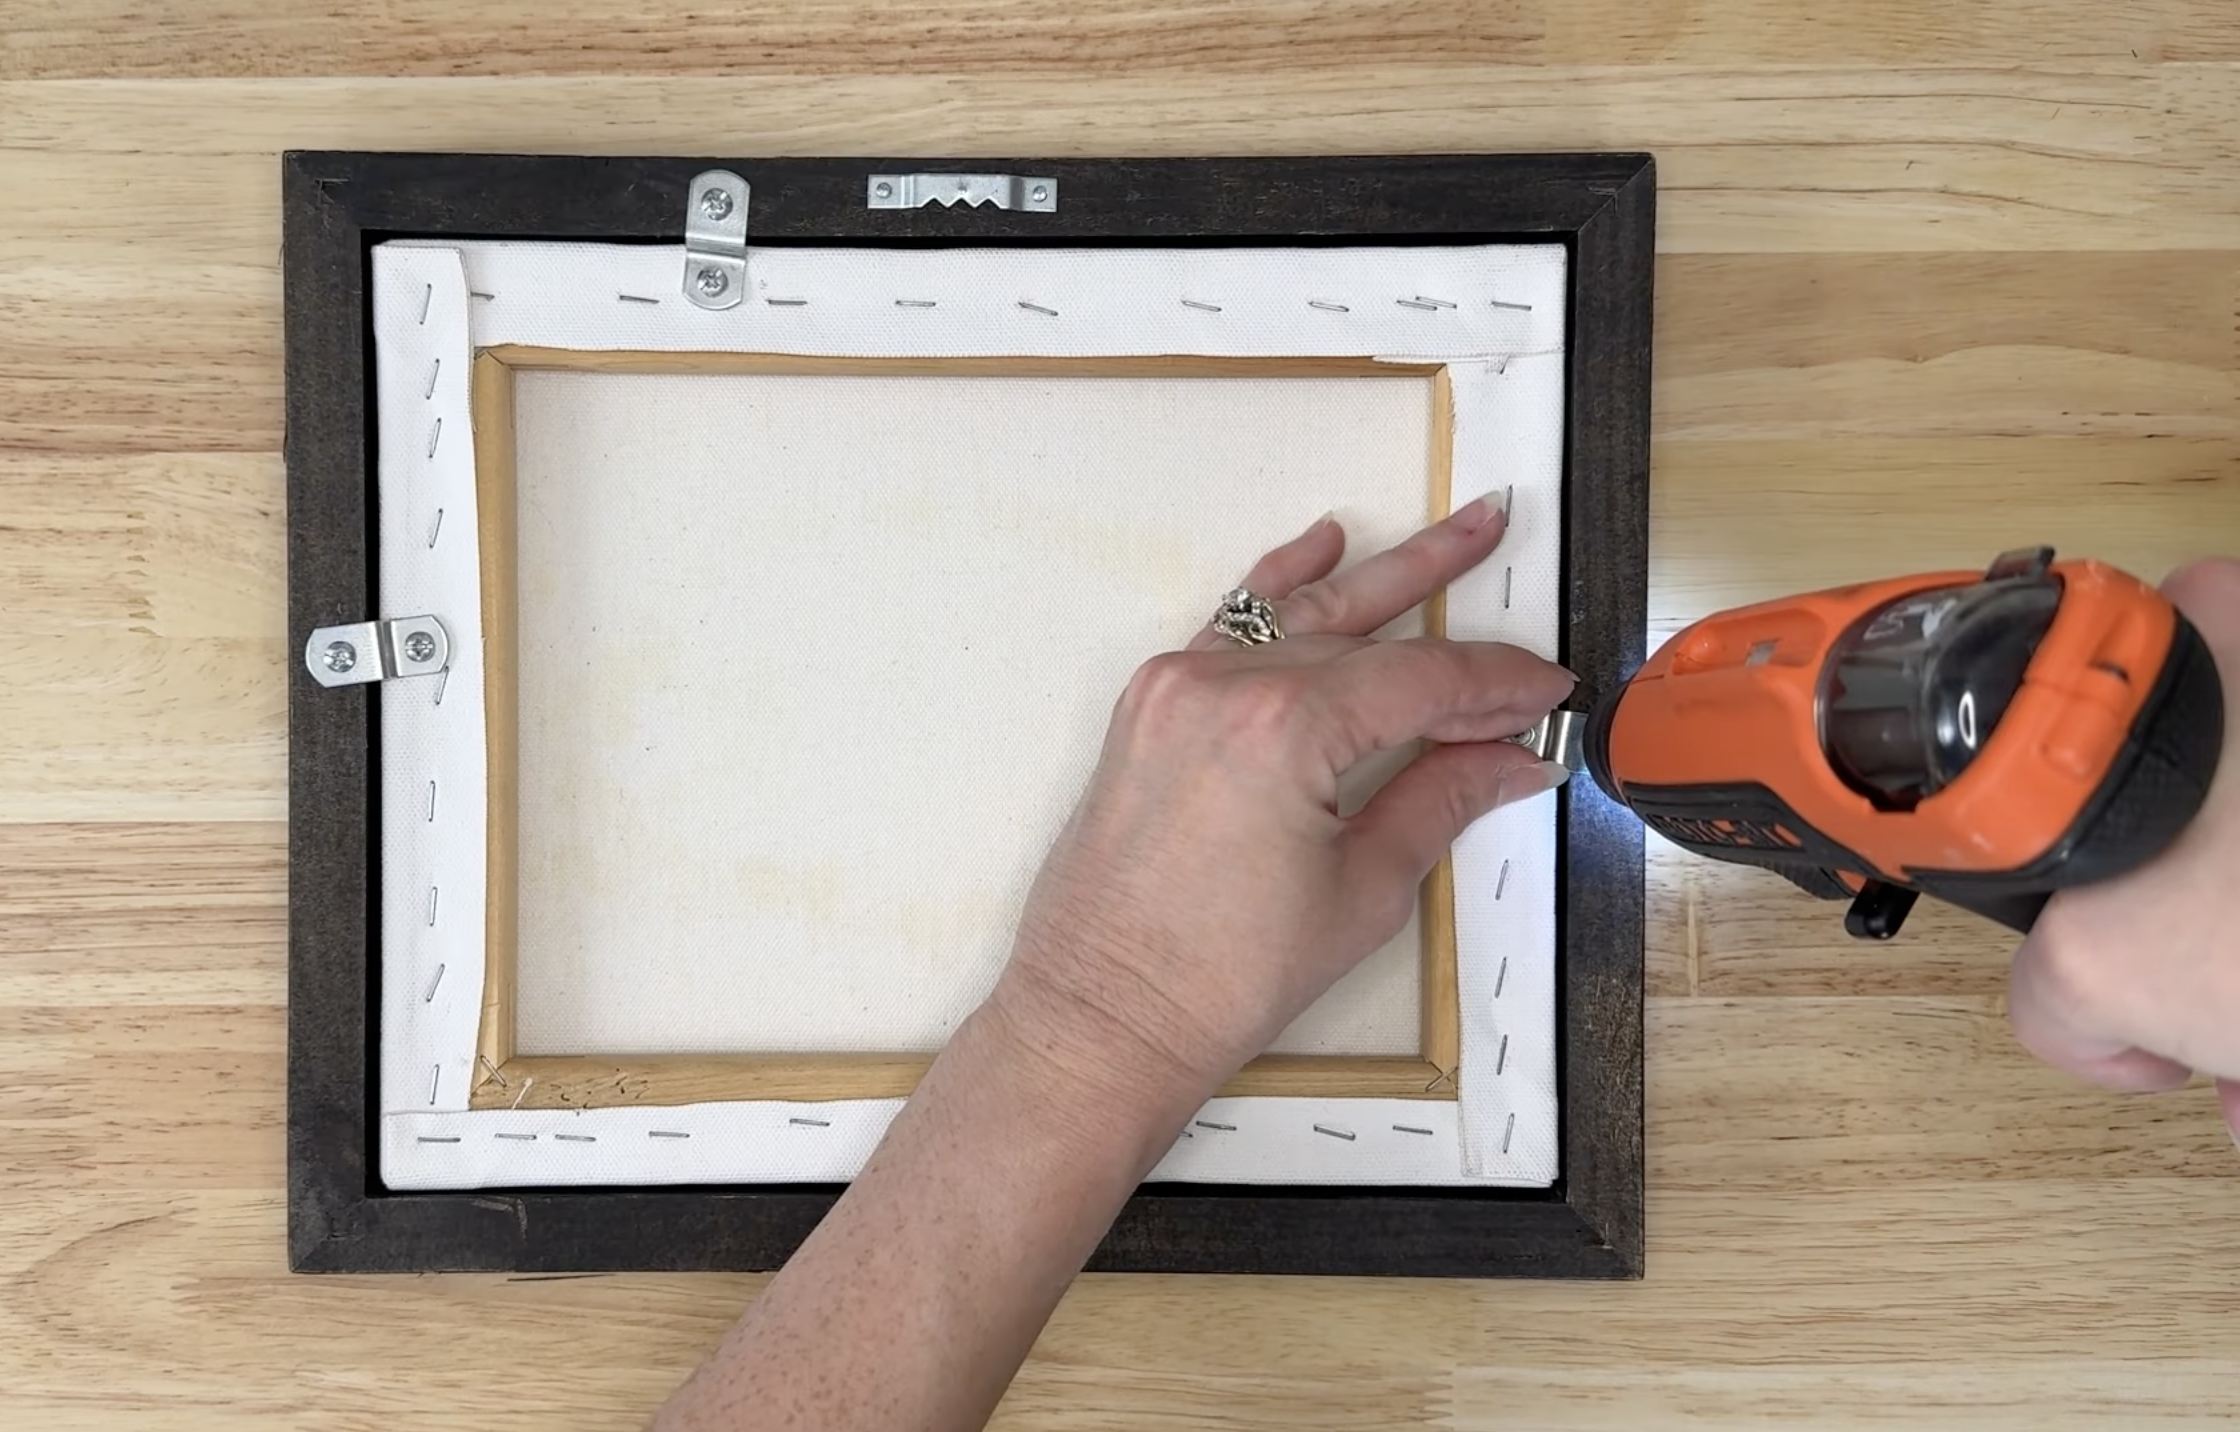
Step 3: Attach the Offset Clips
Place each clip so:
One end lies flat against the back of the canvas
The other end lies flat against the back of the frame
Use the included screws to secure the clip. Repeat on all four sides.
Don’t Stress About the Back
If the canvas sticks out farther than the frame — totally normal. Once it’s hanging on the wall, no one will notice unless they’re inspecting it from the side.
🖼️ How to Frame a Canvas Using a Floater Frame
What You’ll Need
Floater frame
Screws
Screwdriver or drill
Offset Clips (for frames without holes)
Step 1: Place the Canvas in the Front of the Frame
Lay the canvas into the front opening of the floater frame. Make sure it’s centered — the gap around the edges should be even.
Step 2: Flip Carefully
Holding the frame and canvas together, flip the entire piece over so the back is facing up.
Step 3: Secure the Canvas
Most floater frames come pre‑drilled. Simply insert screws through the holes to attach the canvas to the frame. If the frame is not pre-drilled, use offset clips just like you would with an open-back frame.
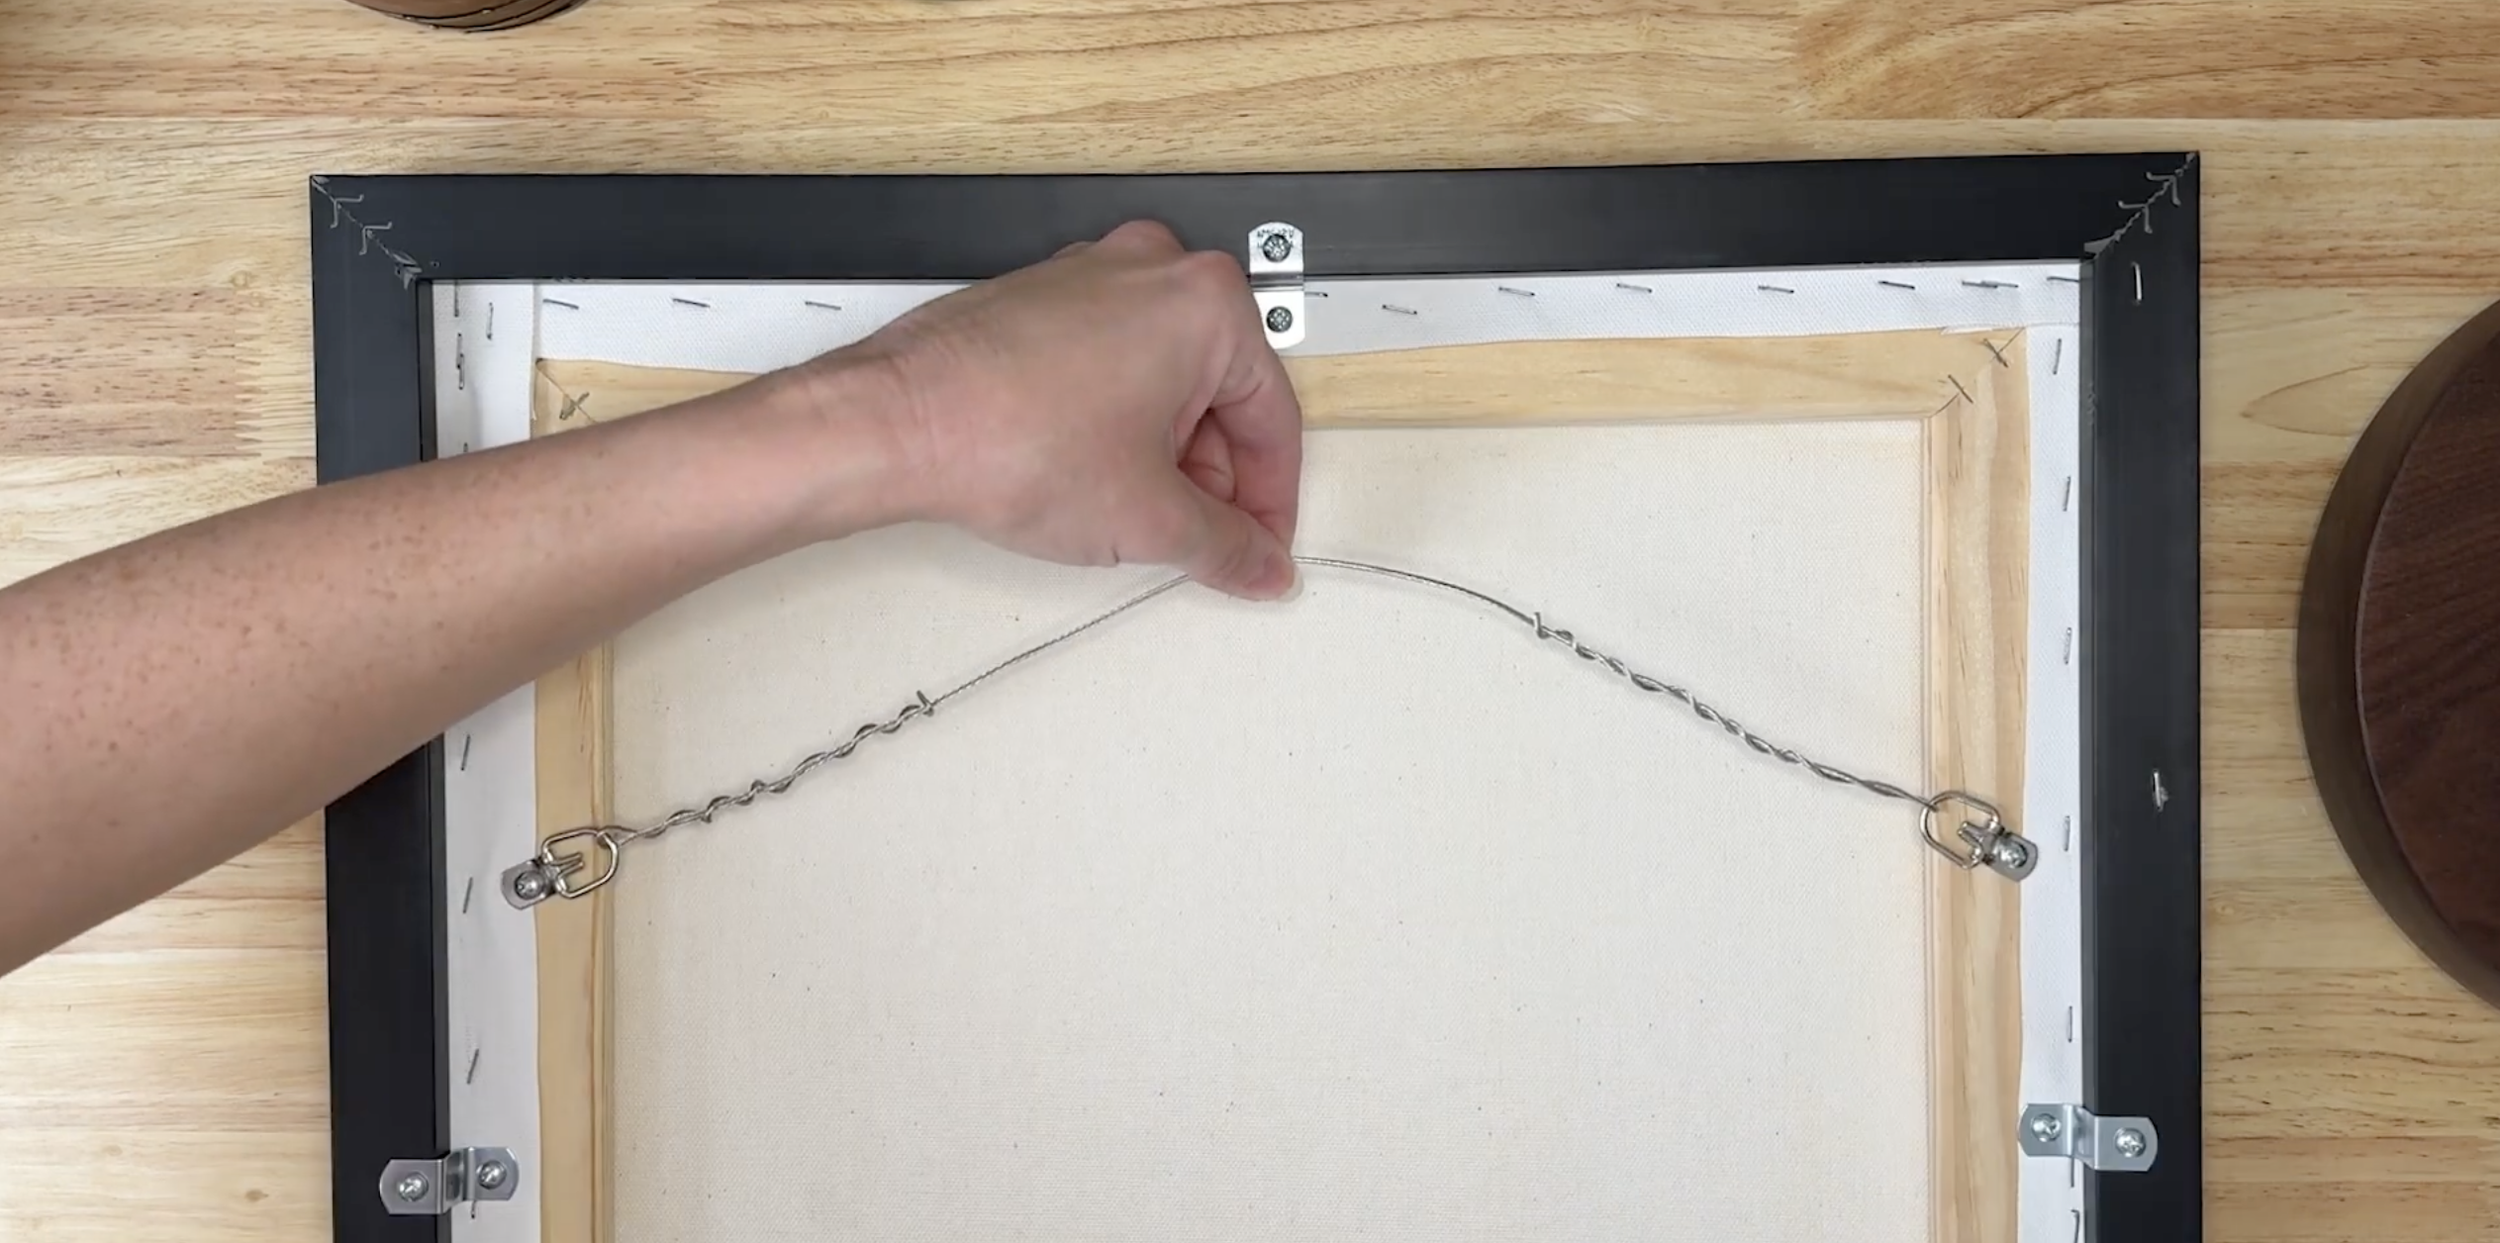
🔗 Add Your Hanging Hardware
Once your canvas is framed, attach your preferred hanging hardware. I personally love using D‑rings and wire.
For more information on hanging a canvas painting, click here.
🎥 Watch the Full Video Tutorial
🛒 Shop the Tools & Supplies From This Tutorial
Contains affiliate links. As an Amazon Associate I earn from qualifying purchases.
Screwdriver: https://amzn.to/4m6Lvrq
Floater frame: https://amzn.to/466tbst (check the measurements of your canvas!)
Offset clips and screws: https://amzn.to/41xZUoW (measure your canvas and frame to find what size you need!)
Shop all of my favorite frames, hanging supplies, and framing supplies on my amazon page: https://amzn.to/3JJMmkb